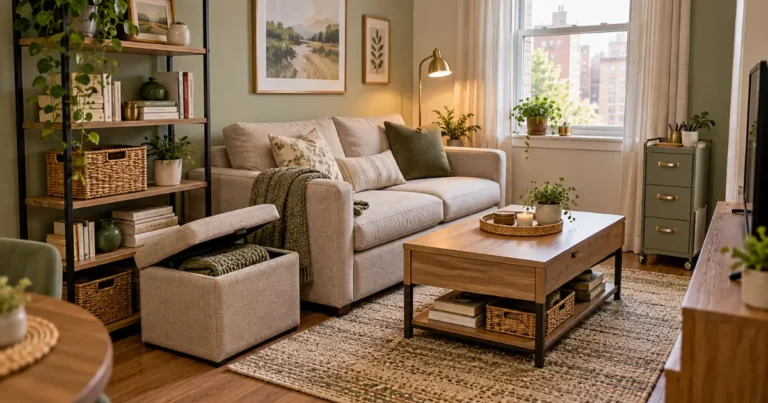
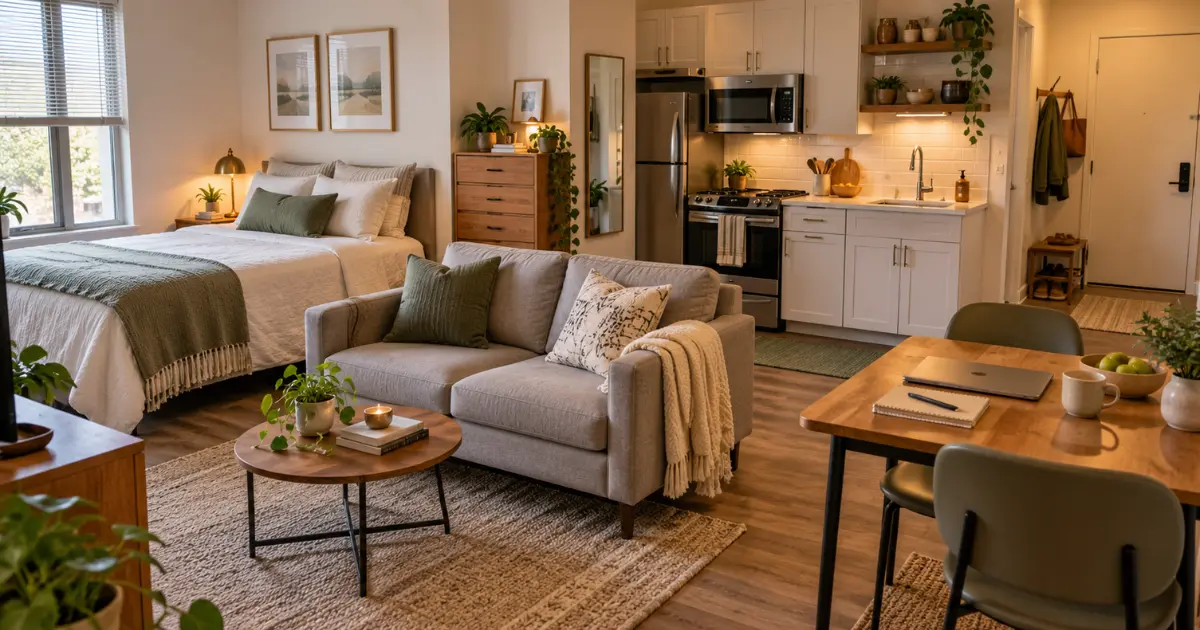
How to Organize a Studio Apartment: A Practical Step-by-Step Guide
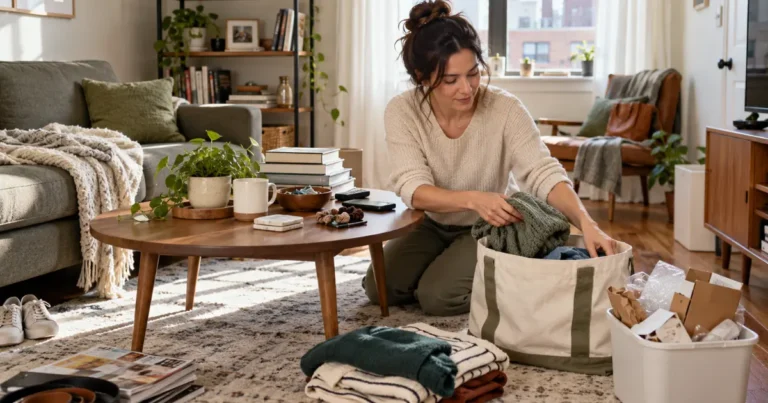
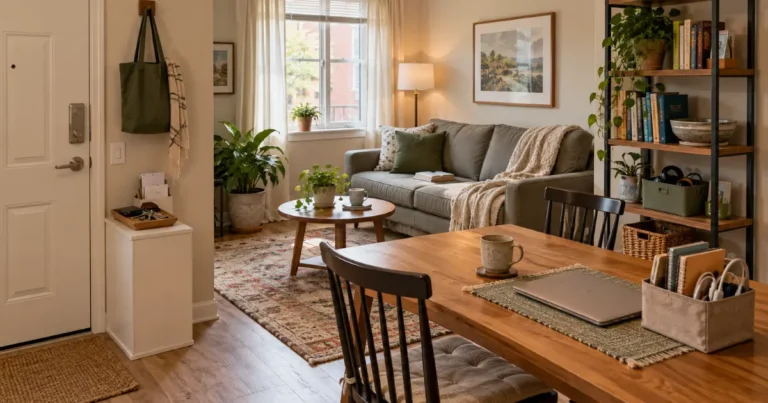
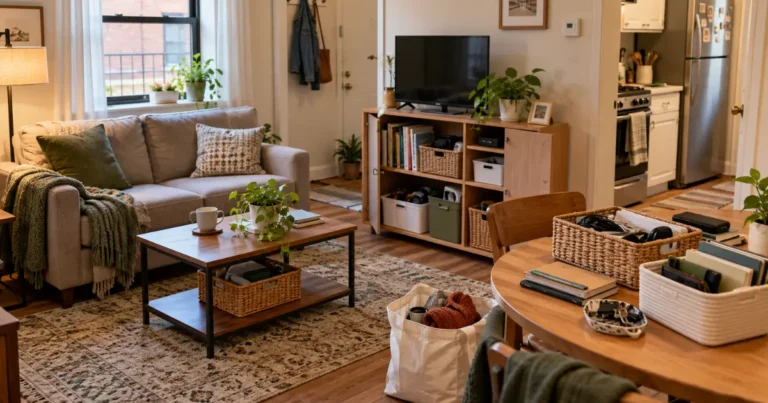
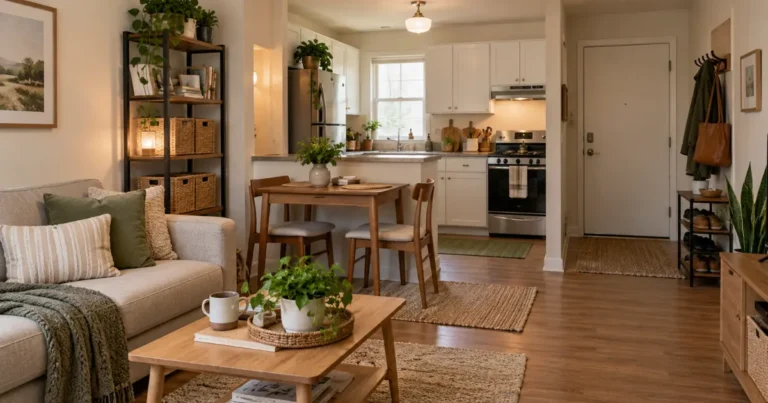
A studio asks one room to do the work of several. Your bed may sit only a few feet from the place where you relax, eat, work, get dressed, and store everyday belongings. That overlap is what makes learning how to organize a studio apartment different from organizing a home with separate rooms.
The goal is not to make the studio look empty or to buy specialized furniture for every problem. It is to create a practical system in which each activity has enough space to function and the belongings connected with it have logical, accessible homes.
The process below starts with how you actually use the apartment, then works through clutter points, functional areas, shared surfaces, clothing, storage, and maintenance. You can adapt it whether your studio has a full kitchen, a kitchenette, one closet, or very limited built-in storage.
Quick Studio Apartment Organization Plan
- Identify the daily activities your studio needs to support.
- Notice where belongings repeatedly pile up or interfere with another activity.
- Give sleeping, relaxing, cooking, and working recognizable functional areas.
- Keep frequently used items close to the activity they support.
- Organize one small area at a time rather than disrupting the entire studio.
- Keep shared surfaces easy to reset between activities.
- Use a simple daily reset and adjust systems that repeatedly stop working.
Table of Contents
Why Organizing a Studio Apartment Is Different
A studio apartment usually combines several daily functions in one main room. There may be a separate bathroom and sometimes a separate kitchen, but sleeping, relaxing, eating, working, dressing, and storing belongings often happen within a single connected space.
That changes the organization problem.
In an apartment with separate rooms, a work notebook left on a desk usually affects only the work area. In a studio, the same notebook may be on the table you need for dinner. Clothing left near the bed may also be visible from the living area. Kitchen items that spread beyond the counter can quickly affect the rest of the room.
Physical boundaries are also limited. You cannot rely on a bedroom door to hide clothing clutter or a separate office to contain paperwork.
As a result, studio apartment organization depends heavily on transitions. The space needs to move smoothly from one activity to another without requiring a major cleanup every time.
That means asking practical questions:
- What activities happen here every day?
- Which belongings support each activity?
- Where do those belongings naturally accumulate?
- Which surfaces are shared?
- What needs to stay immediately accessible?
- What can be stored farther away?
A useful studio organization system is built around the way the space is actually used, not around an idealized floor plan.
For a broader look at how storage, daily routines, and living areas work together in compact homes, explore our Small Apartment Organization: A Complete Guide. The steps below focus specifically on the challenges of organizing a studio where several activities share one main room.
Step 1: Identify the Activities Your Studio Needs to Support
Before moving furniture or buying organizers, list the main functions your studio has to handle.
For many people, those may include:
- sleeping
- relaxing
- cooking and eating
- getting dressed
- working or studying
- managing laundry
- and storing everyday essentials.
Your list may be shorter or longer.
Someone who works away from home may not need a dedicated work setup. Someone who works remotely several days a week may need a reliable place for a laptop, charger, notes, and video calls. A person who rarely eats at a table may use that surface differently from someone who cooks and eats at home every day.
Separate essential daily activities from occasional ones.
A hobby you do once a month should not automatically receive the same amount of convenient space as sleeping, cooking, or getting dressed.
This assessment gives you a priority order. The limited room in a studio should serve the routines that happen most often before it accommodates occasional activities.
Step 2: Identify the Main Sources of Clutter and Friction
Next, walk through the studio without immediately rearranging anything.
Look for places where belongings repeatedly collect or where one activity interferes with another.
Common examples include:
- cooking tools left on the only usable countertop;
- clothing accumulating on a chair beside the bed;
- paperwork covering a table needed for meals;
- shoes and bags spreading around the entrance;
- chargers moving between the bed, sofa, and table;
- toiletries or personal items migrating into the main living area;
- or objects being moved repeatedly because they do not have a consistent home.
Pay particular attention to repeated behavior.
If the same bag lands on the floor every evening, the problem may not be that you need to “be tidier.” Its current storage location may simply be inconvenient.
Also distinguish poor organization from excess possessions.
If a surface is crowded because useful belongings have no assigned homes, organization may solve the problem. If every drawer and cabinet is already packed with things you no longer use, reducing belongings may need to happen first.
If excess belongings are the main obstacle, our guide on how to declutter a small apartment explains how to sort possessions, decide what to remove, and clear unwanted items without creating a larger mess.
Do not try to solve everything during this walkthrough. Identify the friction points so you know where organization will have the greatest practical effect.
Step 3: Establish Simple Functional Areas
A studio can benefit from recognizable activity areas even when there are no walls between them.
For more guidance on making shared living areas comfortable and functional, explore our Small Space Living guide. It explains how furniture choices, everyday activities, and available floor space can work together without making a compact home feel crowded.
These do not need to be formal “zones” marked by bookcases, curtains, screens, or other physical dividers. In many cases, the furniture you already have and the location of related belongings are enough to establish each function.
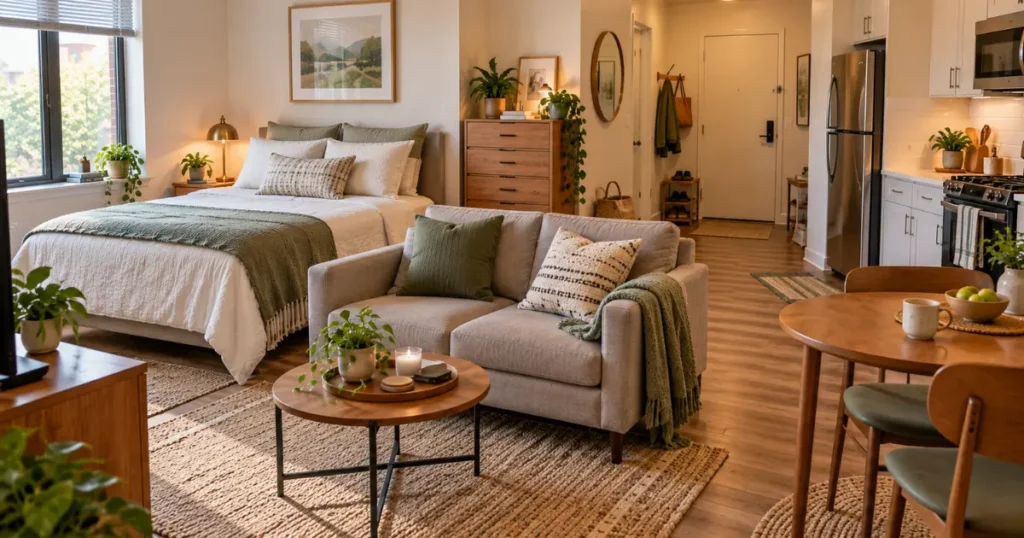
Keep the Sleeping Area Easy to Reset
Your sleeping area should support rest without becoming the default landing place for everything else in the studio.
Keep bedtime essentials close enough to use comfortably. That may include a lamp, phone charger, current book, glasses, or a few personal items.
Frequently worn clothing should have a consistent location rather than accumulating on the bed.
Try to keep unrelated work papers, kitchen items, bags, and household supplies from drifting into the sleeping area simply because the bed provides a large horizontal surface.
An easy-to-reset sleeping area is especially useful in a studio because the bed remains visually present during the rest of the day.
Give Relaxing and Living Activities Their Own Places
The sofa, chair, or main seating area should remain usable for relaxing rather than gradually becoming storage.
Give common living-area belongings predictable homes nearby. Remote controls, current reading material, charging accessories, and a throw might each have one practical location.
Avoid keeping every living-room-related item permanently on the coffee table.
A surface can support relaxation without carrying all of the objects associated with it at once.
Make the Cooking and Eating Area Functional
Whether your studio has a full kitchen or a kitchenette, protect enough counter space for actual food preparation.
Keep frequently used cooking tools close to where they are needed, but avoid using every inch of open countertop as permanent storage.
If you eat at a table that also supports other activities, decide what must be removed before meals and where those belongings will go.
The goal is not to build a complete kitchen-storage system. It is to keep cooking and eating from becoming difficult because unrelated items have taken over the available surfaces.
Create a Work or Study Setup Only If Needed
A dedicated office is not necessary for every studio.
If you do work or study at home, organize the supplies around the surface you actually use. A laptop, charger, notebook, headphones, and current papers may be enough for a basic setup.
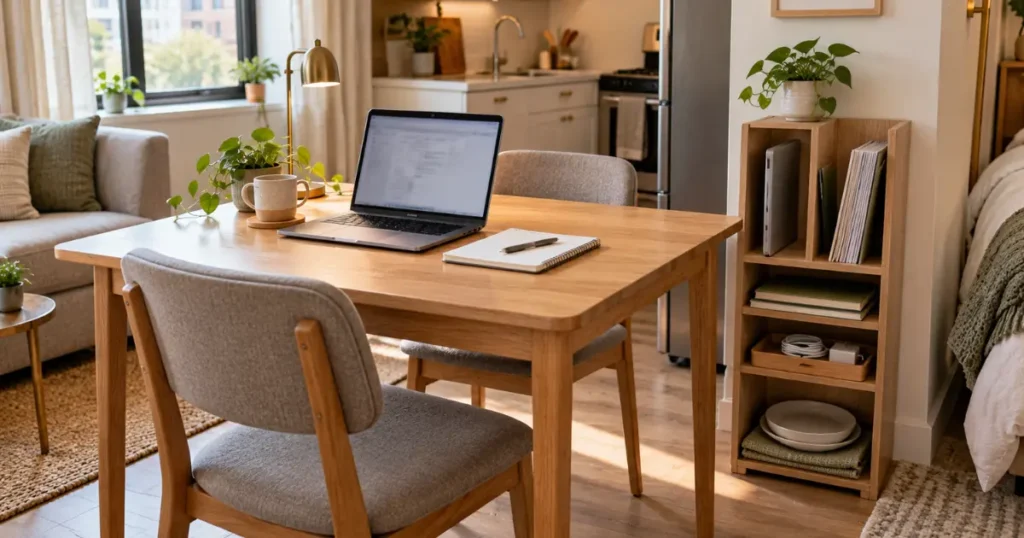
If the same table is used for dining, keep work materials grouped so they can be moved together rather than scattered across the surface.
Do not let occasional work needs automatically justify another large piece of furniture. The best setup may be one that appears only when you need it.
Step 4: Give Everyday Belongings Logical Homes
Once the main activities are clear, assign consistent locations to the belongings that support them.
Start with frequency of use.
Items you reach for every day should usually receive the most convenient locations. Things used occasionally can tolerate a higher shelf, lower drawer, or less immediate position.
Then consider proximity.
A phone charger used primarily beside the sofa should not necessarily live across the room just because a drawer happens to be available there. A work notebook makes more sense near the table where you use it.
Ease of return matters too.
If putting an item away requires opening several containers or moving other belongings first, it is more likely to stay out.
For example, imagine that your keys live in a drawer at the opposite end of the studio, while you naturally drop them near the entrance. Moving their permanent home closer to the door may solve the problem better than repeatedly reminding yourself to cross the room.
When deciding how to organize a small studio apartment, do not automatically choose the location with the most unused capacity. Choose the location that makes the routine easier.
Step 5: Organize One Small Area at a Time
Even though a studio is one main room, you do not have to organize it as one project.
Choose one manageable area.
That might be:
- the dining table;
- one dresser drawer;
- the top of the dresser;
- one section of a kitchenette counter;
- one shelf;
- or the area immediately around the entrance.
Then use a simple process:
- Decide what genuinely belongs in that area.
- Move unrelated belongings to more appropriate locations.
- Arrange what remains so frequently used items are easy to reach.
- Check whether the area can still perform its intended function.
- Use it normally and make adjustments if necessary.
- Finish that area before starting another.
Suppose your shared table holds a laptop, mail, chargers, grocery receipts, and several unrelated objects.
Instead of reorganizing the entire studio, focus only on the table. Keep the work supplies together, move mail to its proper location, return unrelated objects elsewhere, and leave enough surface free for the table’s other uses.
Contained progress is easier to maintain than creating several unfinished organization projects throughout one room.
Step 6: Keep Shared Surfaces Available for Their Main Uses
Shared surfaces are one of the biggest organization challenges in a studio.
A single table may support breakfast, work, paperwork, and a hobby. The coffee table may hold drinks, books, remotes, and temporary work supplies. A dresser top may double as a place for personal essentials.
The solution is not to keep every surface completely empty.
Instead, distinguish between what needs to remain there and what needs a nearby home.
For a work-and-dining table, you might keep a small portable group of work supplies on a nearby shelf or in an existing container. When the workday ends, the whole group can move at once rather than requiring several individual trips.
At a kitchenette counter, keep the tools used regularly for food preparation within reach while moving unrelated mail, charging cables, and personal belongings elsewhere.
The question to ask is:
Can this surface return to its main function without a major cleanup?
If not, too many belongings are depending on it for permanent storage.
If shared tables, charging accessories, and everyday supplies keep creating clutter, explore our small apartment organization ideas for practical ways to give those belongings consistent homes and make multipurpose spaces easier to use.
Step 7: Organize Clothing and Personal Essentials
Clothing can create visible disorder quickly because the sleeping and living areas often share the same room.
Give frequently worn clothes consistent storage locations in the closet, dresser, or other storage you already have.
Keep clean clothes separate from items waiting for laundry. Clothing that has been worn but may be used again also benefits from one defined temporary location rather than the back of every chair in the apartment.
Choose a practical laundry location.
A hamper that is difficult to reach is less useful than one positioned where clothes are normally removed, provided it does not block a walkway or door.
Shoes, bags, and accessories should also have predictable homes. The goal is to prevent these categories from gradually spreading from the entryway to the bed, sofa, floor, and table.
If your studio has a closet, use the most convenient positions for clothing and personal belongings you use frequently.
A studio with no closet requires a more specialized clothing-storage approach, so avoid trying to solve that entire problem by scattering freestanding racks and containers throughout the main room without a plan.
Step 8: Use Existing Storage More Intentionally
Storage is part of studio organization, but more storage is not automatically the solution.
Start with what you already have.
Inside drawers, cabinets, shelving, and closets, group related belongings so you know where to look for them.
Keep high-use categories accessible.
Avoid catchall containers filled with unrelated objects simply because the container hides visual clutter.
Ask whether each storage location actually works during everyday life.
A basket may look neat but be frustrating if you have to empty it to reach the object at the bottom. A high shelf may provide useful capacity but be a poor location for something needed several times a day. When organizing existing dressers or bookcases, consider furniture stability as well as convenience. Follow the manufacturer’s instructions for securing furniture against tip-overs. For additional information, see the U.S. Consumer Product Safety Commission’s furniture tip-over prevention guidance.
If your existing storage genuinely cannot support the belongings you need to keep, an additional solution may be appropriate. But identify the exact storage problem before buying anything.
Detailed studio apartment storage ideas deserve separate treatment because storage solutions can involve furniture dimensions, vertical space, hidden storage, installation, and renter restrictions.
If you’ve improved your existing storage but still need more capacity, our small apartment storage ideas guide explores vertical shelving, hidden furniture storage, and renter-friendly options that may also suit a studio apartment.
Here, the priority is simpler: make the storage you already have easy to understand and use.
Step 9: Create a Simple Daily Studio Apartment Reset
Because several activities happen in the same room, even a modest amount of disorder can affect the whole studio quickly.
A short daily reset helps return the space to a functional baseline.
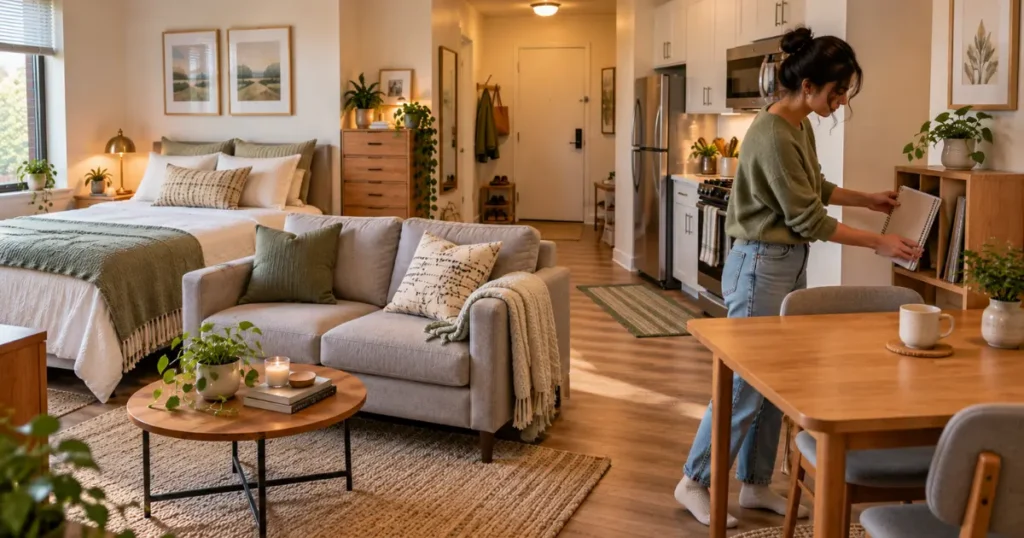
Your reset might include:
- putting everyday belongings back in their usual locations;
- clearing the main shared table;
- returning loose clothing to its designated place;
- restoring enough kitchen counter space for the next meal;
- moving laundry into its hamper;
- and preparing whichever area you will need first the following day.
Do not turn this into an elaborate cleaning routine.
The reset is about organization, not deep cleaning.
It also does not need to take the same amount of time every day. Some days may involve only a few items.
Consistency matters more than creating a perfect-looking studio every evening.
Step 10: Reassess Your Organization System as Your Needs Change
A studio organization system that works now may become inconvenient later.
Your needs may change because you:
- start working from home;
- change your work schedule;
- add or remove furniture;
- take up a new activity;
- acquire new belongings;
- need different seasonal clothing;
- or begin sharing the apartment with another person.
When a problem keeps returning, examine the system before assuming you simply need another organizer.
If work materials begin taking over the table every day, perhaps their storage location is too far away. If shoes consistently collect at the entrance, the current shoe location may not match your routine.
Adjusting the arrangement is part of how to organize a studio apartment successfully.
The best system is not permanent. It should be able to change as the way you use the studio changes.
Common Studio Apartment Organization Mistakes to Avoid
Even useful organizing ideas can create problems when they ignore the reality of one-room living.
- Trying to organize the whole studio at once. Opening every drawer, cabinet, and storage area simultaneously creates more loose belongings than the room can comfortably handle.
- Giving frequently used items inconvenient homes. Daily belongings are unlikely to stay organized if putting them away takes too many steps.
- Letting one activity permanently take over a shared surface. A table used for work should still be able to return to dining or another intended function.
- Buying storage before understanding the problem. A new container may hide clutter without making the belongings easier to use.
- Ignoring movement through the apartment. Furniture, baskets, and belongings should not obstruct walking routes, doors, or exits. The U.S. Fire Administration’s home fire escape planning guidance emphasizes keeping exits unobstructed.
- Using containers without clear purposes. A basket filled with unrelated objects often becomes another place to search.
- Creating a system that is too complicated to maintain. Simple categories and obvious locations generally work better than numerous rules.
- Prioritizing appearance over function. A studio does not need to look perfectly minimalist. It needs to support everyday life.
How to Maintain an Organized Studio Apartment
The daily reset handles immediate disorder. Longer-term maintenance is about noticing when the system itself needs attention.
Pay attention to locations that repeatedly become overcrowded.
If one drawer becomes difficult to close every few weeks, the category may be too large or the storage location may no longer be appropriate.
Before adding new belongings, decide where they will go and whether your existing storage can accommodate them. New clothes, kitchen items, paperwork, hobby supplies, and household purchases all need somewhere to go. If everything enters the studio without a plan, even a good organization system can gradually become overloaded.
Check shared surfaces periodically.
A table that once cleared easily may slowly become permanent storage. A bedside surface may accumulate objects unrelated to sleep. A kitchen counter may begin holding items from other parts of the studio.
Maintenance does not mean repeatedly reorganizing the entire apartment. It means catching small problems early and adapting your setup when daily routines show that something is no longer working.
Frequently Asked Questions
What is the best way to organize a studio apartment?
Start by identifying the main activities the studio needs to support, such as sleeping, cooking, relaxing, and working. Give each activity enough usable space, keep its everyday belongings nearby, and assign consistent homes to frequently used items.
Then organize one small area at a time and use a simple reset to keep shared surfaces functional.
How do you organize a small studio apartment without making it feel crowded?
Avoid treating every unused corner as storage.
Keep walking routes open, protect some clear surface area, and use existing storage intentionally. Frequently used belongings should be accessible, while occasional items can occupy less convenient locations.
Choose organization systems that support the activities happening in the room rather than trying to fit the maximum possible number of belongings into it.
How can I keep a studio apartment organized every day?
Use a short reset based on the areas that change most during the day.
Return loose items to their homes, clear the main shared surface, put away clothing, restore usable kitchen space, and handle laundry.
The routine should be simple enough to repeat without turning organization into a major daily project.
How do I organize a studio apartment when one table serves multiple purposes?
Keep the belongings for each activity easy to move as a group.
For example, work supplies can stay together in an existing container or nearby shelf so the table can be cleared for dining without relocating several loose items individually.
Avoid letting one activity permanently occupy the surface.
Should I organize or declutter my studio apartment first?
It depends on the problem.
If useful belongings mainly lack consistent homes, organization may be the priority. If drawers, cabinets, and surfaces are packed with items you no longer need or use, reducing excess belongings first may make organization easier.
You do not need to declutter the entire studio before improving one clearly defined organizational problem.
Do I need more storage to organize a studio apartment?
Not necessarily.
First check whether existing drawers, cabinets, shelves, and furniture are being used in ways that match your actual routines.
If a specific category still has no practical home after that, additional storage may help. Choose it for a defined need rather than adding storage simply because the apartment is small.
Final Thoughts: Make Your Studio Work for Everyday Life
Learning how to organize a studio apartment is largely about making several activities coexist comfortably within one shared room.
Identify what the studio needs to support, give everyday belongings logical homes, keep shared surfaces easy to reset, and make sure one activity does not continually interfere with another. Then maintain the system with simple routines and adjust it when your needs change.
Your studio does not need to look empty or perfectly styled to be well organized. It needs to work for the way you actually live.
A useful next step is to choose the shared surface that causes you the most inconvenience and give the belongings associated with it a practical, consistent place to go.